Install Cacti 0.8.8 on CentOS 6/7

In this posting you will be learning how to install Cacti 0.8 on a freshly installed CentOS 6 or CentOS 7 system.
Addition Information
Do you want to have an on-demand cacti for your small office or large site ? look here: Cereus-Monitoring
Step 1 – Prerequisites
First we need to install some of the software packages needed for Cacti to run properly. Software which is not included or enabled in the base CentOS 6 installation are:
- rrdtool
- apache
- mysql
- cron
- gcc
Let’s use yum to get these installed.
Centos 6:
yum -y install mysql-server php php-cli php-mysql net-snmp-utils rrdtool \
  php-snmp gcc mysql-devel net-snmp-devel autoconf automake libtool dos2unix wget help2man

Centos 7:
yum -y install mariadb-server php php-cli php-mysql net-snmp-utils rrdtool \
  php-snmp gcc mariadb-devel net-snmp-devel autoconf automake libtool dos2unix wget help2man
gcc and the devel packages are required for the installation of spine, hence that’s why we include it here.
Now let’s make sure that our webserver and the database are automatically starting up after a reboot. Use the following commands to enable these:
CentOS 6:
chkconfig httpd on
chkconfig mysqld on

CentOS 7:
systemctl enable httpd.service
systemctl enable mariadb.service
Now that we did make sure that these services start after a reboot, let’s start them manually now in order to continue the installation. Cron may already be running so don’t panic if you don’t see the usual start message:
CentOS 6:
service httpd restart
service mariadb restart

CentOS 7:
systemctl restart httpd.service
systemctl restart mariadb.service
[the_ad_placement id=”default-manual”]
Step 2 – Cacti Files
Let’s now move to the actualy installation of Cacti. First we need to download and extract it. As of version 0.8.8, a fully patched Cacti including the Plugin Architecture (PIA) is officially available, so we’re downloading that one:
cd /var/www/html
wget http://www.cacti.net/downloads/cacti-0.8.8h.tar.gz
tar -xzvf cacti-0.8.8h.tar.gz
I usually suggest to create a symbolic link to the newly created directory “cacti-0.8.8h”. This will make upgrades to never Cacti versions easier:
ln -s cacti-0.8.8h cacti
Step 3 – Cron and file permissions
Cacti uses cron (scheduled task) in order to execute its polling process. It’s always a good idea to run this under a special user. Let’s create the system “cacti” user now:
adduser -d /var/www/html/cacti -s /sbin/nologin cacti
Having done that, we can now add a new cron entry to your system for a 5 minute polling interval using the following command:
echo "*/5 * * * * cacti php /var/www/html/cacti/poller.php &>/dev/null" >> /etc/cron.d/cacti
Finally, we also need to make sure that the permissions on the log and rra directories are set correctly:
cd /var/www/html/cacti
chown -R cacti.apache rra log
chmod 775 rra log
Step 4 – Cacti Database
Now that we have extracted the cacti files, we can move on preparing the database for the final installation step. Your first step should be securing the mysql database. The following command will help you with this task on a CentOS system. Make sure to select a strong password for root, e.g. MyN3wpassw0rd
/usr/bin/mysql_secure_installation
Let’s create a new database and assign a special user to it:
mysqladmin -u root -p create cacti
mysql -p cacti < /var/www/html/cacti/cacti.sql
mysql -u root -p
With the last command, you should be seing a mysql prompt where you can enter mysql commands. Here we are going to create the special cacti user. That user only needs to be able to connect from the local system and should have a strong password as well. Enter the following commands and make sure to replace the password:
GRANT ALL ON cacti.* TO cactiuser@localhost IDENTIFIED BY 'MyV3ryStr0ngPassword';
flush privileges;
exit
We now have the cacti files and the cacti database setup. The last step before moving to the web-based installer is setting the database credentials within the Cacti config file:
cd /var/www/html/cacti/include/
vi config.php
Change the $database_ lines to fit your new settings:
$database_type = "mysql";
$database_default = "cacti";
$database_hostname = "localhost";
$database_username = "cactiuser";
$database_password = "MyV3ryStr0ngPassword";
$database_port = "3306";
$database_ssl = false;
Depending on your installation, you should also uncomment the following line. In our example we have to make sure the following line is there:
$url_path = "/cacti/";
Step 5 – Adding firewall rules
The following settings will add access rules to http and https from outside:
Centos 7:
firewall-cmd --permanent --zone=public --add-service=https
firewall-cmd --permanent --zone=public --add-service=http
firewall-cmd --reload
Step 6 – Important PHP Settings
The default PHP installation usually has not configured the correct timezone or php error reporting. While not required to run Cacti, it’s highly recommended to enable error reporting to syslog for troubleshooting issues with plugins or other scripts.
The following lines need to be enabled/configued in your /etc/php.ini file:
; Defines the default timezone used by the date functions
; http://php.net/date.timezone
date.timezone = Europe/Berlin
and
; Log errors to syslog (Event Log on NT, not valid in Windows 95).
error_log = syslog
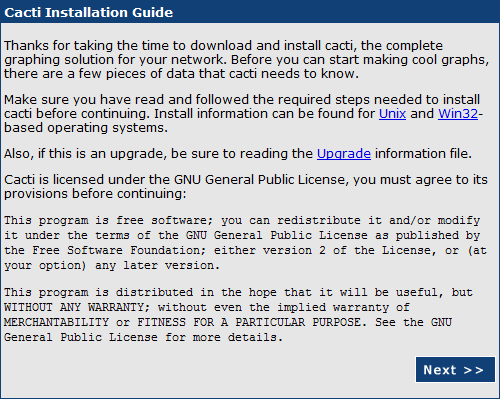
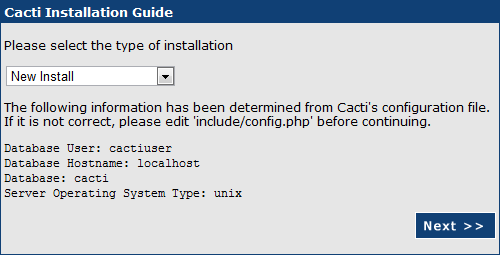
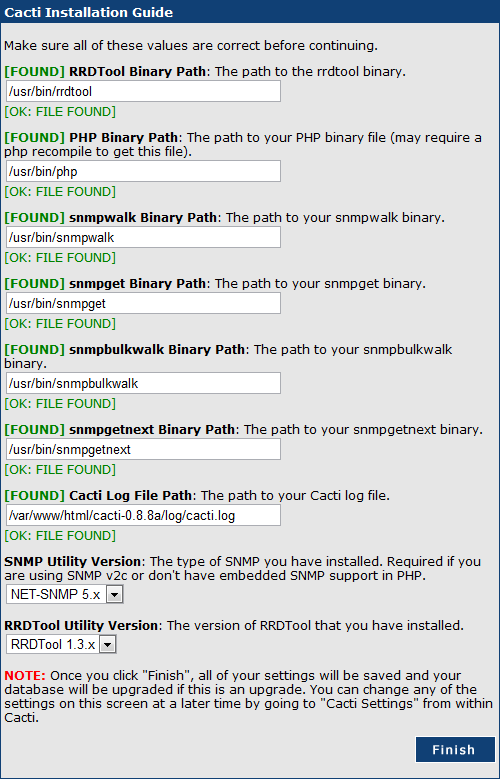
Step 7 – Running the Web-based installer
Let’s move on to the web-based installer.
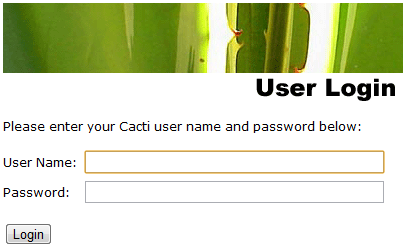
Login with admin/admin and you’re ready to go !
Please go to “Console -> System Utilities” and click on “Rebuild Poller Cache” after the first login!
Need Commercial Support ?
Urban-Software.de offer commercial Cacti support not only for Cacti itself, but also for several of the plugins ( e.g. Thold ).
There’s going to be an on-demand solution in the future. You can contact us for more details using the contact form.
[the_ad_placement id=”default-manual”]