HowTo Install influxdb on RockyLinux
HowTo Install influxdb on RockyLinux
Welcome to this small HowTo install influxdb on RockyLinux. This tutorial will guide you through the different steps of installing influxdb on RockyLinux 8. Later tutorials will also show you how you can connect Cacti to this influxdb instance using the CereusTransporter plugin
First of all, we will need a basic RockyLinux 8 installation. There are no special requirements on what to select. For a first look, you can use an e2-medium running RockyLinux 8 instance on the Google Cloud Platform. Make sure to set “influxdb” as the network tag when creating the compute instance !
Next, we will need to add the influxdb yum repository to this freshly installed RockyLinux. Use the following commands to add it to your system:
# influxdb.key GPG Fingerprint: 05CE15085FC09D18E99EFB22684A14CF2582E0C5
sudo cat <<EOF | sudo tee /etc/yum.repos.d/influxdb.repo
[influxdb]
name = InfluxDB Repository - RHEL \$releasever
baseurl = https://repos.influxdata.com/rhel/\$releasever/\$basearch/stable
enabled = 1
gpgcheck = 1
gpgkey = https://repos.influxdata.com/influxdata-archive_compat.key
EOF
Now we can start the installation influxdb and the influxdb-cli with the following command:
sudo dnf install influxdb2 influxdb2-cli
Now let’s start the influxdb service for the first time and also make it autostart when the system starts:
sudo systemctl start  influxdb
sudo systemctl enable influxdb
In order to have some comfortable bash completion fo the influxdb cli, let’s add that now:
influx completion bash >/etc/bash_completion.d/influxdb2.sh
sudo chmod +x /etc/bash_completion.d/influxdb2.sh
source /etc/bash_completion.d/influxdb2.sh
This will enable the bash completion feature.

Firewall Settings
On a standard RockyLinux 8 installation, the firewall needs to be opened for the influx db port ( TCP/8086 and TCP/8083 ), so let’s do it now:
firewall-cmd --permanent --zone=public --add-port=8086/tcp
firewall-cmd --permanent --zone=public --add-port=8083/tcp
firewall-cmd --reload
For Google Cloud Platform, you will also need to add these ports to the firewall, so you can reach these from the internet. If you want to limit this more, please change source network range accordingly. Note the target tags which we are using here
gcloud compute firewall-rules create default-allow-influxdb --direction=INGRESS --priority=1000 --network=default --action=ALLOW --rules=tcp:8086,tcp:8083 --source-ranges=0.0.0.0/0 --target-tags=influxdb
Initial web-based setup
You should now be able to go to the web interface of your influxdb installation using the following url:
http://<serverip>:8086/
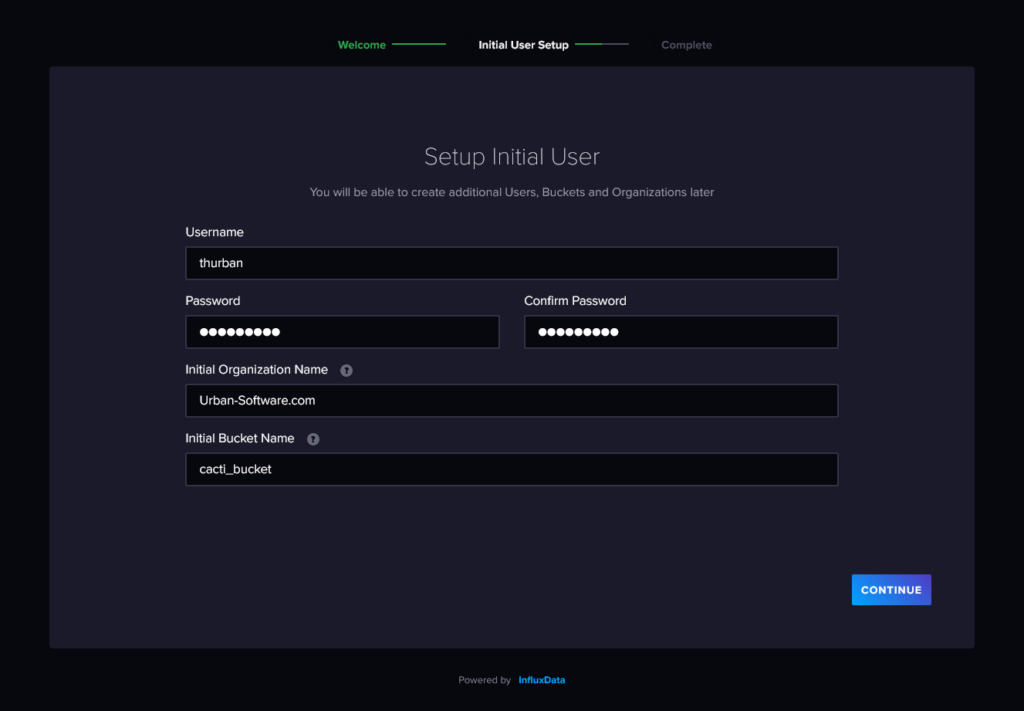
The instalation process will guide you through some basic settings, so let’s move to the next screen and define the admin user and an initial bucket which we can use for storing data from a Cacti system. Check this HowTo install Cacti on Google Cloud if you want to setup Cacti.
We are going for the Quick Start here
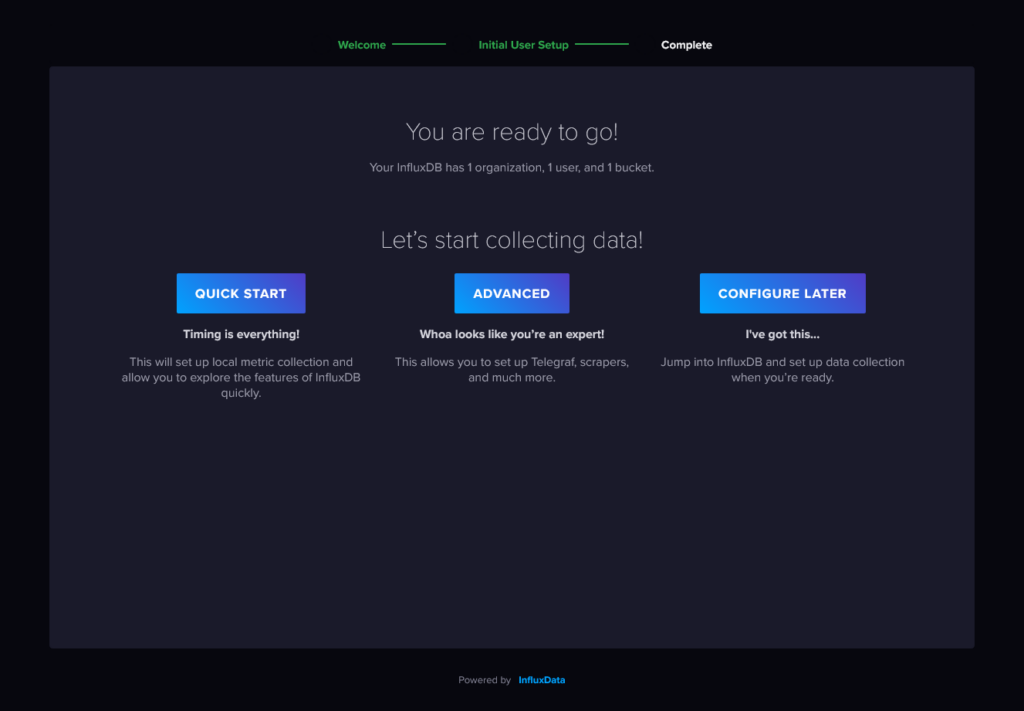
You have now finished the HowTo install InfluxDB on RockLinux !
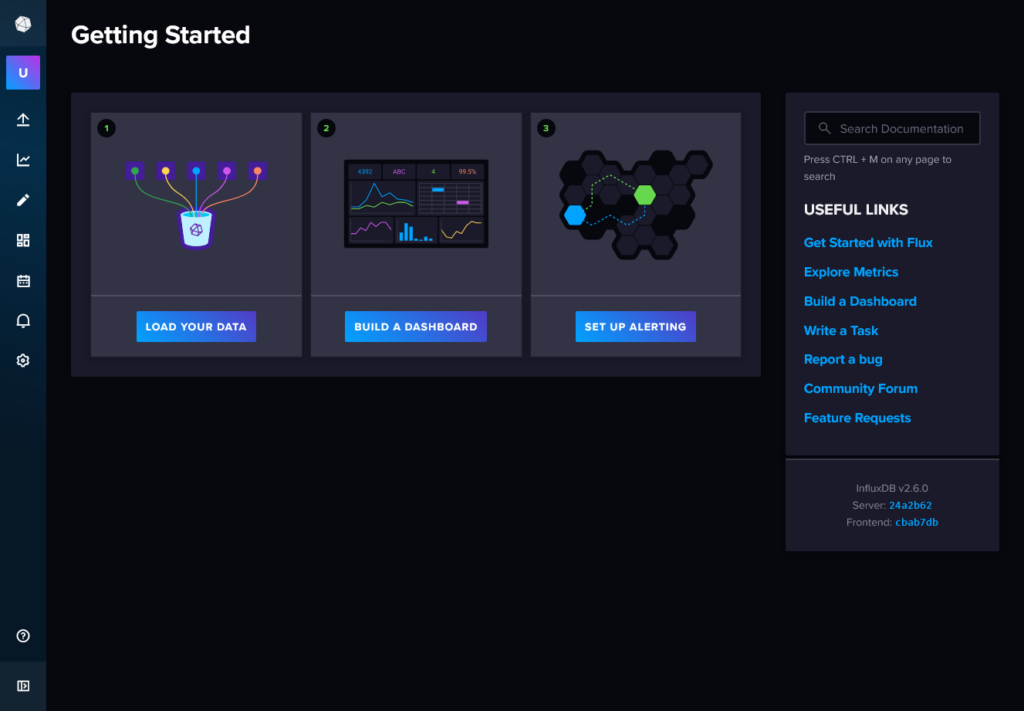
Let’s now create an API Token for the influx CLI and our Cacti bucket
HowTo Create an API Token for the Cacti bucket
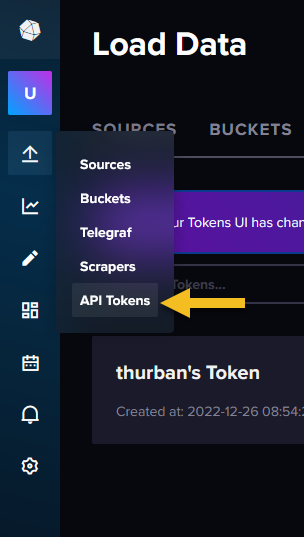
Let’s head over to the API Tokens creation screen.
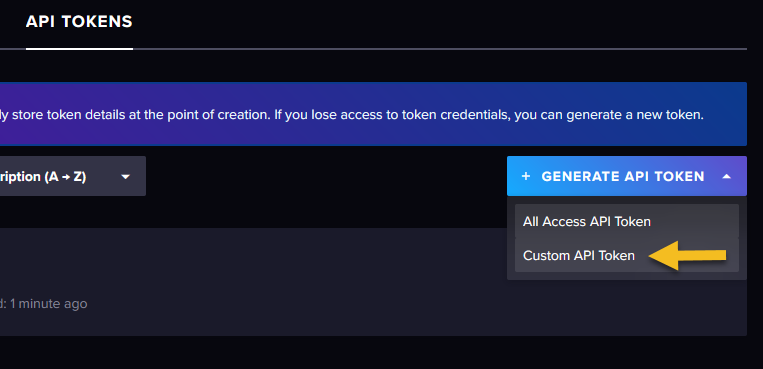
We want to create a Custom API Token, so we can limit the actual access to our specific Cacti bucket
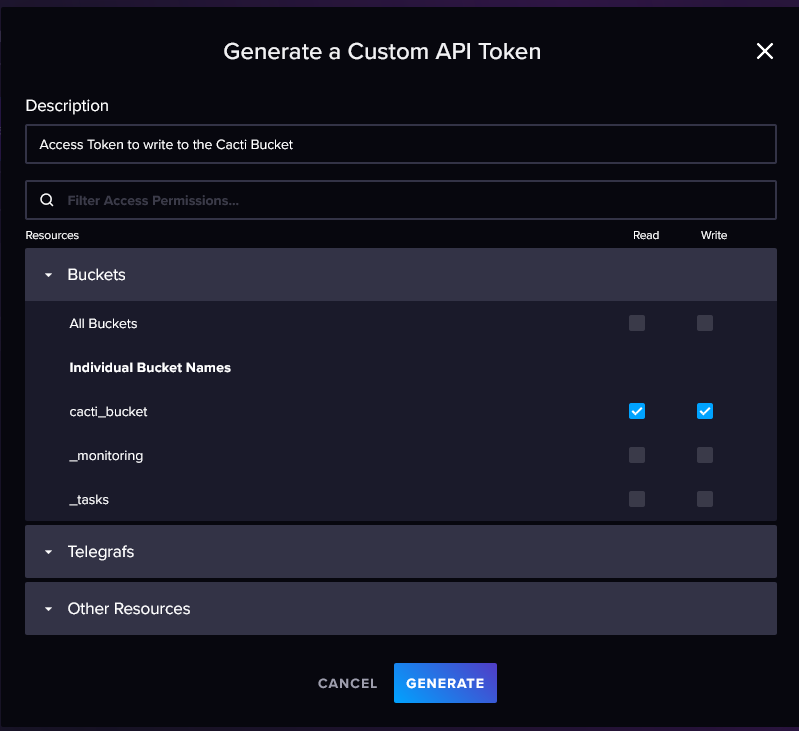
Here we can limit read/write access to specific buckets or other resources. Let’s give the token read/write access to our cacti_bucket
The last step provides you with the actual API token. Store that so we can re-use it for configuring the influx cli and the CereusTransporter plugin for Cacti.

Let’s now head over to the CLI and configure the influx cli by creating a config. Make sure to change the org and token part:
influx config create --config-name cacti_bucket_config --host-url http://localhost:8086 --org <the org you defined> --token <paste your API token here> --active
Check the creation of the config using the following command:
influx config list

You have now completed the HowTo install influxdb on RockyLinux and also create a secure API Token to connect to the Cacti bucket !
